Cold Weather Riding Doesn't Have to Suck
So it’s winter. The snow flies and the temperature drops. Add in wind chill, and the “feels like” number is easily sub-freezing or even single digits.
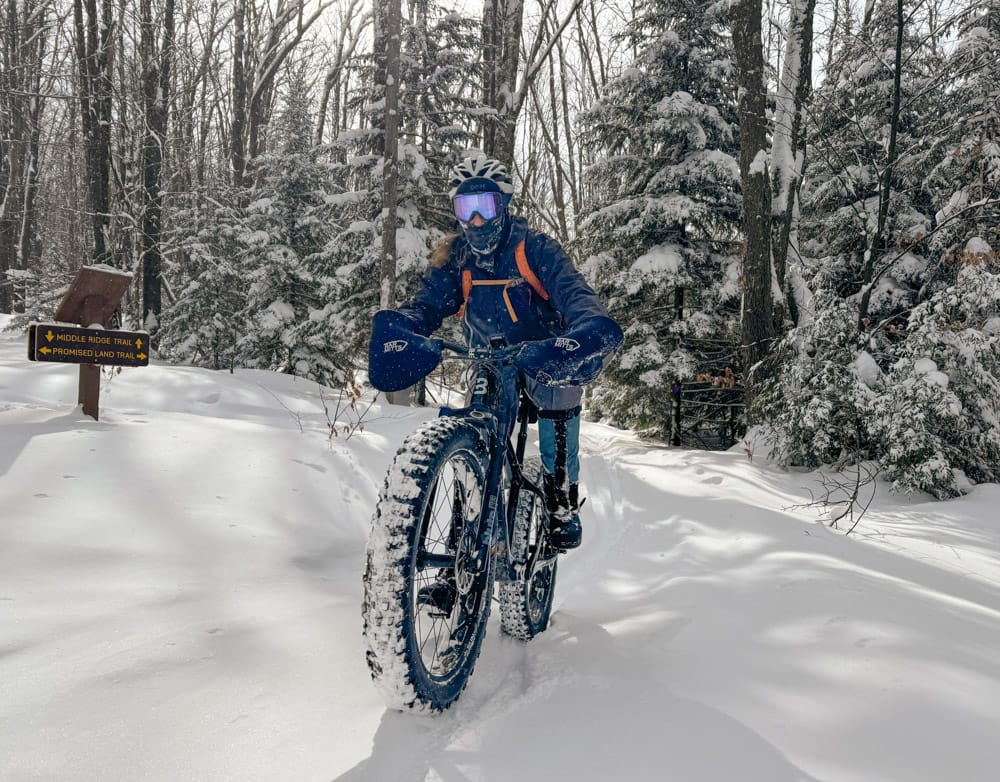
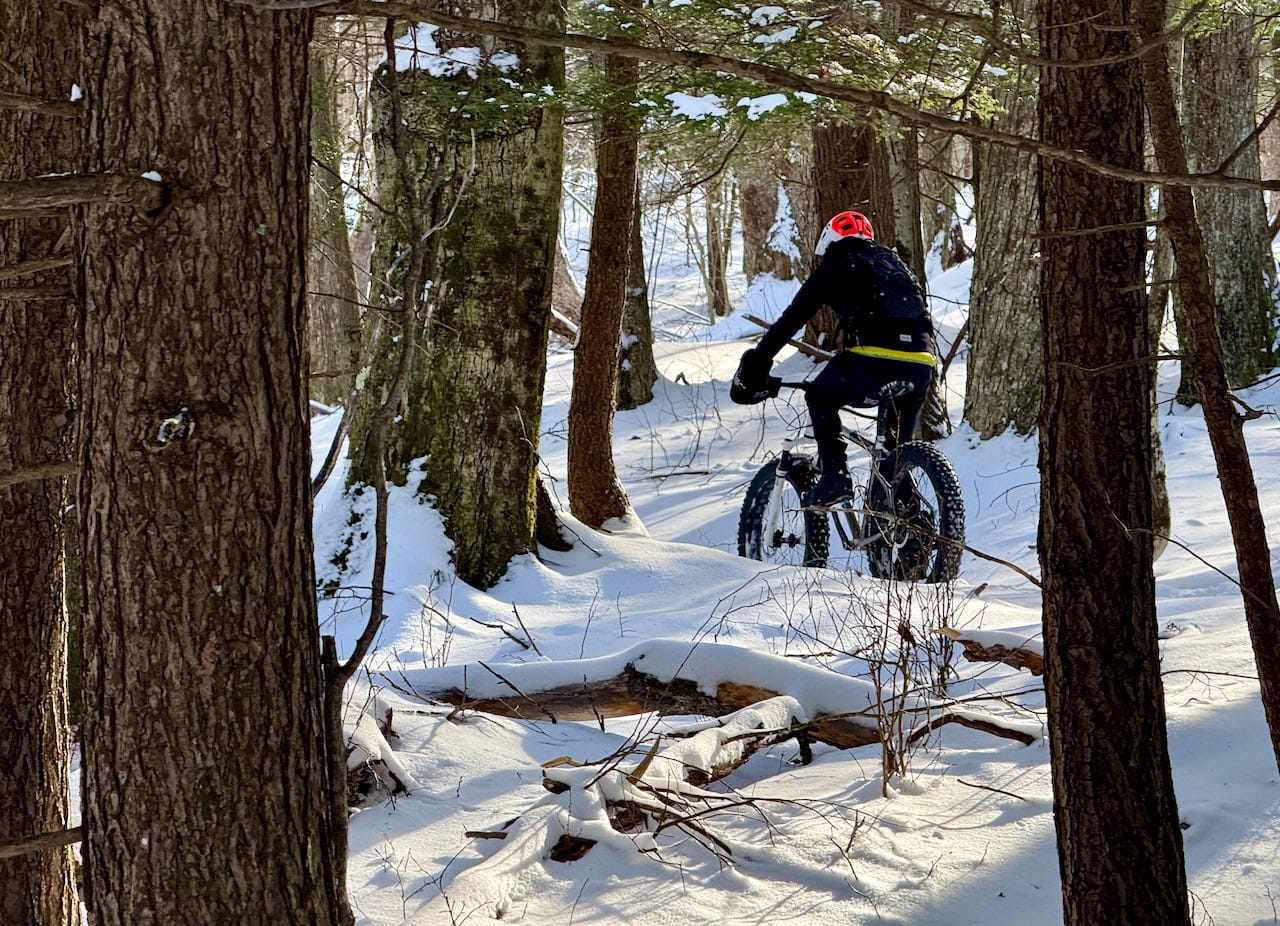
While the indoor trainer plays a magnificent role in providing steady Zone 2 base training during the winter months, it can get old. And we don’t get the mental health benefits of being in nature with our buddies. Fat bikes to the rescue!
In this article, I’ll share the fruits of my mistakes so you can learn to have as much fun riding in the cold as I do!
Tip # 1: Check the Temp!
There is cold…and then there is cold. As in frigid. After a long, lazy summer of deciding whether or not to pack a rain jacket, we now have to consider whether all our extremities will still be functional after the ride. We can’t just snag a puffy and head out. Riding in 10 degrees Fahrenheit is very different from riding in 45 degrees. And that wind chill has a bite!
That said, the first November 40-degree-and-rainy ride may be more mentally challenging than any 10-degree ride properly layered in mid-February. So consult your weather app (or step outside) and make a plan.
Tip #2: Layer Up
The winter dress code always starts with a thin base layer, such as merino wool, to keep water wicking away from your skin. There are synthetic blends out there that work well; the trick is to find what’s comfortable for you and always start there. Pro tip: the chamois still comes first, and chamios cream before that. If you can find a lined pair of cycling shorts, well, that’s just pure luxury.
Once your base layer is in place, it’s time to reconsider the temperature. Freezing sounds cold, but once you’re pedaling, it can feel absolutely balmy. So don’t overdo it! If it’s around 32 degrees, I typically put on a jersey or vest over my base layer, then add a nice windbreaker or weatherproof jacket. This works for me down to about 25 degrees, and then I might replace the windbreaker with a warmer outer layer. Once we are below 20, I’ll don a warmer mid-layer, and the outer layer is defined by precipitation. Remember: waterproof holds sweat in as much as it keeps precip out. If it’s snowing pretty hard, I’ll consider a rain jacket. Otherwise, weather-resistant is a happy medium.
I also have two pairs of riding pants, with the thicker pair being my go-to for sub-freezing temps. Even though our legs are doing so much work, they are still further from our core. Also, warm muscles perform better than cold, which helps reduce injury and increase fun!
Tip #3: These Boots Were Made for Riding
Boots are a must for winter riding. Just like skiing, they keep the snow out and the warmth in. I switch to my 45NRTH Wolvhammer cycling boots pretty early in the season. In a past life, my toes sustained some damage during a trip to the North Pole, and they are the first to feel numb. Also, for a variety of reasons, females have an even tougher battle than men in getting blood to the extremities. The expense is worth it. And, they will last many, many seasons.
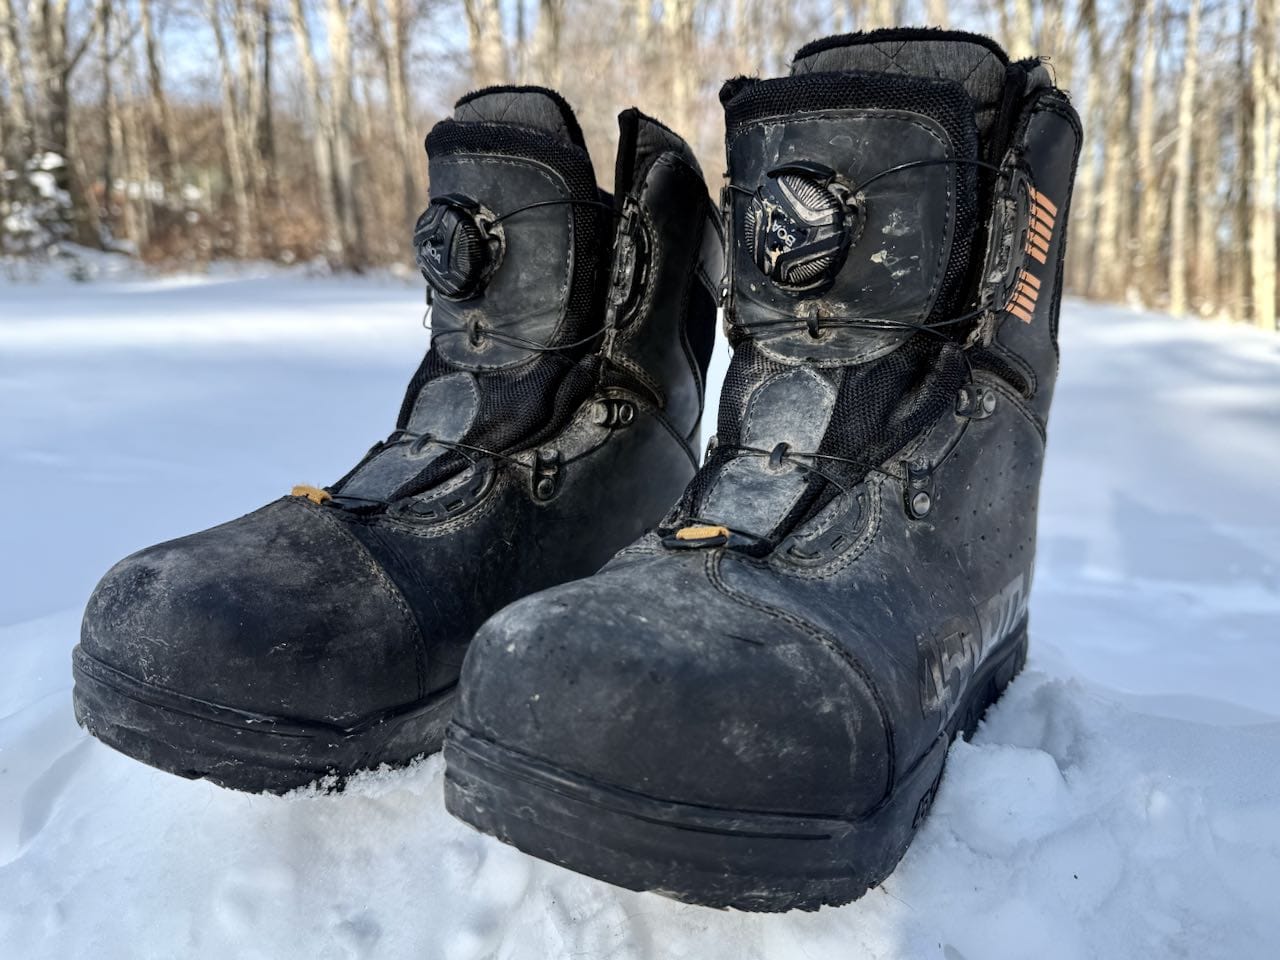
The trick with boots is to make sure they are large enough to accommodate one or two layers of socks while still leaving plenty of room to wiggle your toes. If you have to squeeze your feet into the boots, your circulation can be cut off and your warmth reduced.
If I’m wearing my Wolvhammers and temps are above freezing, a simple wool hiking sock is all I need. Once temps drop below freezing, I’ll pull out a thicker pair or layer a very thin base sock with the wool hiking sock. The trick is not to overheat your feet, as they will sweat! Then, if you stop to chat with your friends or clear out the frozen mud from your suspension fork, the sweat will pull heat away from your body, and suddenly, your toes are ice bricks.
Once we get into the low teens, I'll break out the adhesive toe warmers. These should not be directly against the skin, so I’ll put them between my sock and the insulated boot. If we are dealing with even colder temps, sometimes the good old plastic bag has to get layered into the mix. Placing the bag over your sock (and warmer) keeps the heat contained within a vapor barrier. This technique is excellent for extremely cold temps or wet conditions, but be careful! This can easily cause your feet to overheat.
Tip #4: It’s all in the Head
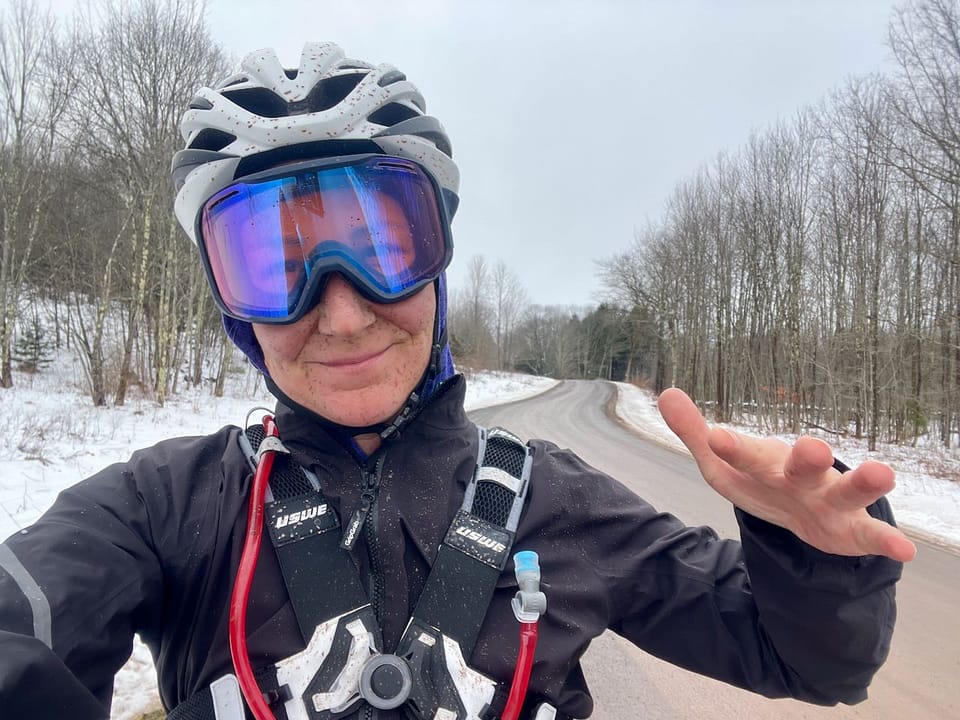
The saying goes that we lose 40-50% of our heat through our heads. It is actually more like 10% —if the body is equally covered. And so the layering philosophy applies to the neck up as well. When it’s around freezing, I’ll use a light, easily adjustable buff around the neck and a light hood or buff for my head. Even with the air vents, a helmet counts as a layer!
As temps drop into the lower 20s and teens, the buff becomes a warmer neck gaiter, and I make sure to cover my ears with another, or an insulated cycling cap. Depending on the wind, I might opt for a full-face balaclava. My favorite is my thin turtle fur. It covers the head and neck with options for the mouth and nose. Breathing through this no doubt cuts down on my oxygen intake, but at least the air is warm!
My favorite addition to my setup is ski goggles. Off with the prescription glasses that permit wind, snow, rain, and fast speeds to sting my poor little eyeballs. On with the googles that not only hold in heat, but protect my beardless cheeks.
Tip #5: Protect the Digits
I find that almost every cold-weather ride begins with cold hands, but if I’ve done my job, that doesn’t last long. Insulated gloves are a must for temps below 40, and I have pairs for every 10-degree drop. Once my hands warm up, they can easily get sweaty. So, if I take my gloves off to eat or take a photo, the moisture cools very quickly, and now I’m putting on cold gloves. When I remember, I shove my gloves into my jacket and use my core warmth to keep this from happening.
Another option is bar mitts—I absolutely love them. The neoprene super mittens for the handlebars create a warm, toasty environment. I can wear a thin pair of wool gloves and even take them off if I get too hot. They are also spacious little tote bags.
One caveat: It does take a millisecond longer to throw out your hand and catch yourself during a crash. I’ve only had this affect me once. However, I’ve heard stories otherwise. So while bar mitts are my favorite way to keep my hands warm, I have found myself experimenting with gloves a bit more as I weigh my risk factors on the bike!
Bonus tip: wrap those cold, metal brake levers in some tape or neoprene. This helps keep metal from conducting too much heat away from your fingers.
Tip #6: Is this a Race?
My core temperature during a relaxed social ride or a steady training ride is very different from that during an all-out race effort. Body heat spikes almost immediately and can remain elevated for hours. It’s vital not to overdress in this scenario, as increased sweating can put you into the danger zone much faster if you need to stop to fix a mechanical issue. As the saying goes, “Be bold, start cold.” If you’re toasty warm at the start line, chances are you’re overheated in the first ten minutes. This rule can also apply to social rides, but there is more flexibility, as there is time to switch up layers and make adjustments.
Tip #7: Your Bike Needs Love, too
I know what you’re thinking: when is Vicky going to talk about her favorite topic, tire pressure? Soon!
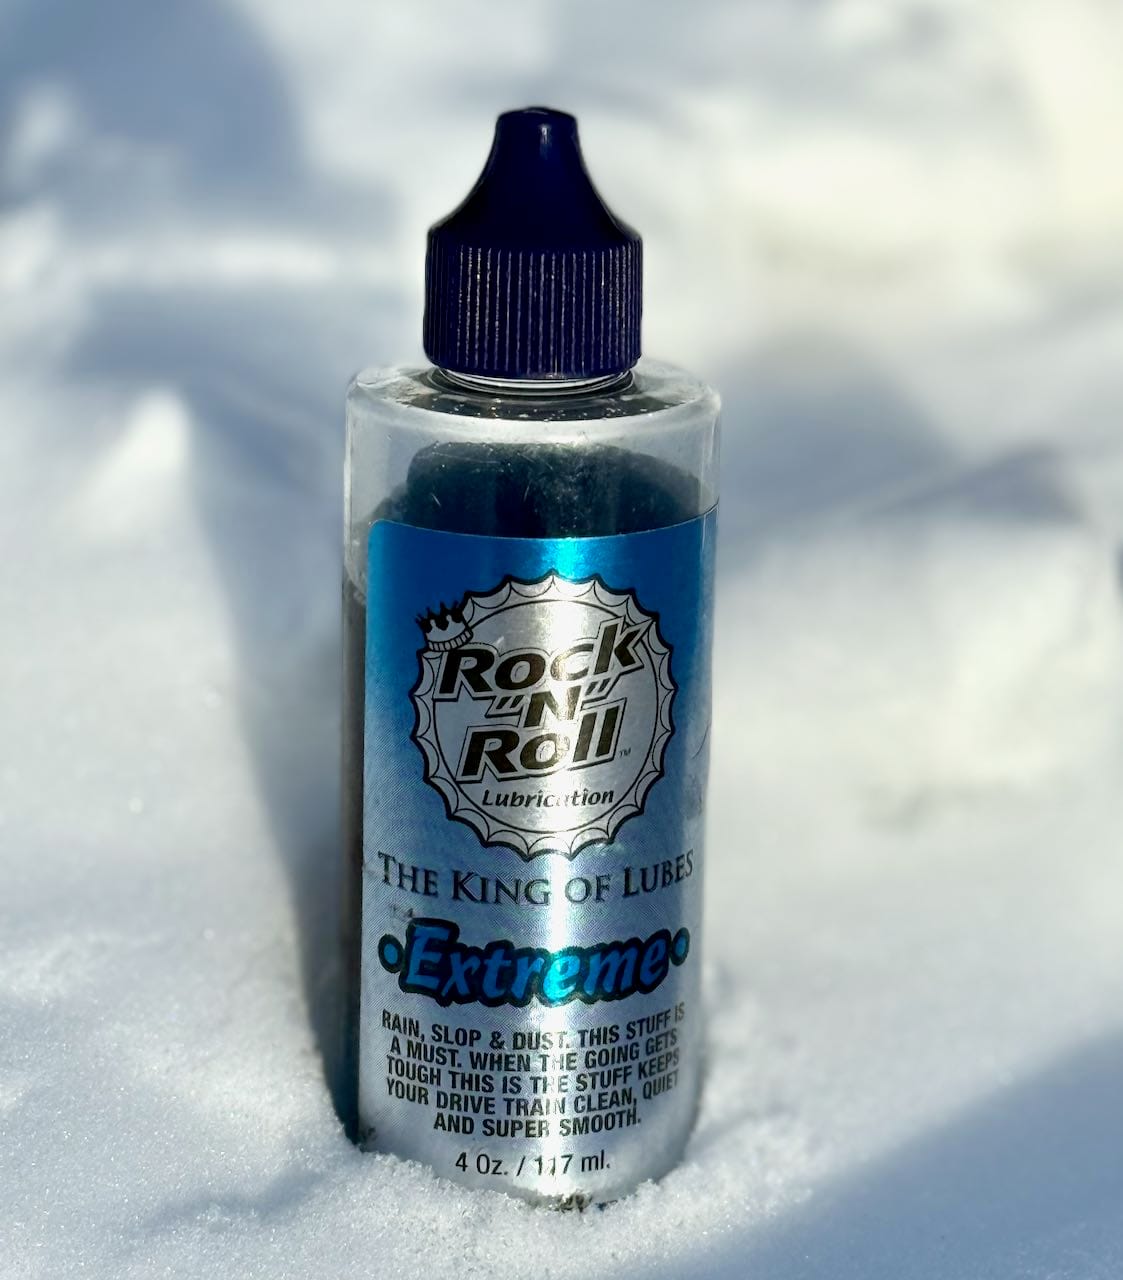
First, make sure your poor fat bike doesn’t have a rusty chain or contaminated brakes from the leaky roof it’s been parked under all summer. Or, is it by chance covered in mud from the last shoulder season ride? If so, give her a nice clean while it's still warm outside, and treat her with a special lube. I like Rock N Roll Extreme.
Another option is to let your local shop give your trusty steed a once-over before heading out. Professional mechanics catch things we riders don’t even think of, until something goes wrong. You know what Mama says about an ounce of prevention!
I’ve been riding mountain bikes for over 20 years, but as we know, I still make plenty of mistakes. Add slippery, variable, snowy conditions into the mix, and chances are my super dab will save me, made possible by my trusty flat pedals. Again, this is a preference I've built up over the years as I’ve wasted time getting ice out of my pedals and cleats, or finding myself stuck in them. Some claim that Crank Brothers pedals are better than SPDs in such conditions. Feel free to experiment! But if you're new to fat biking in the snow, I cannot recommend flat pedals enough.
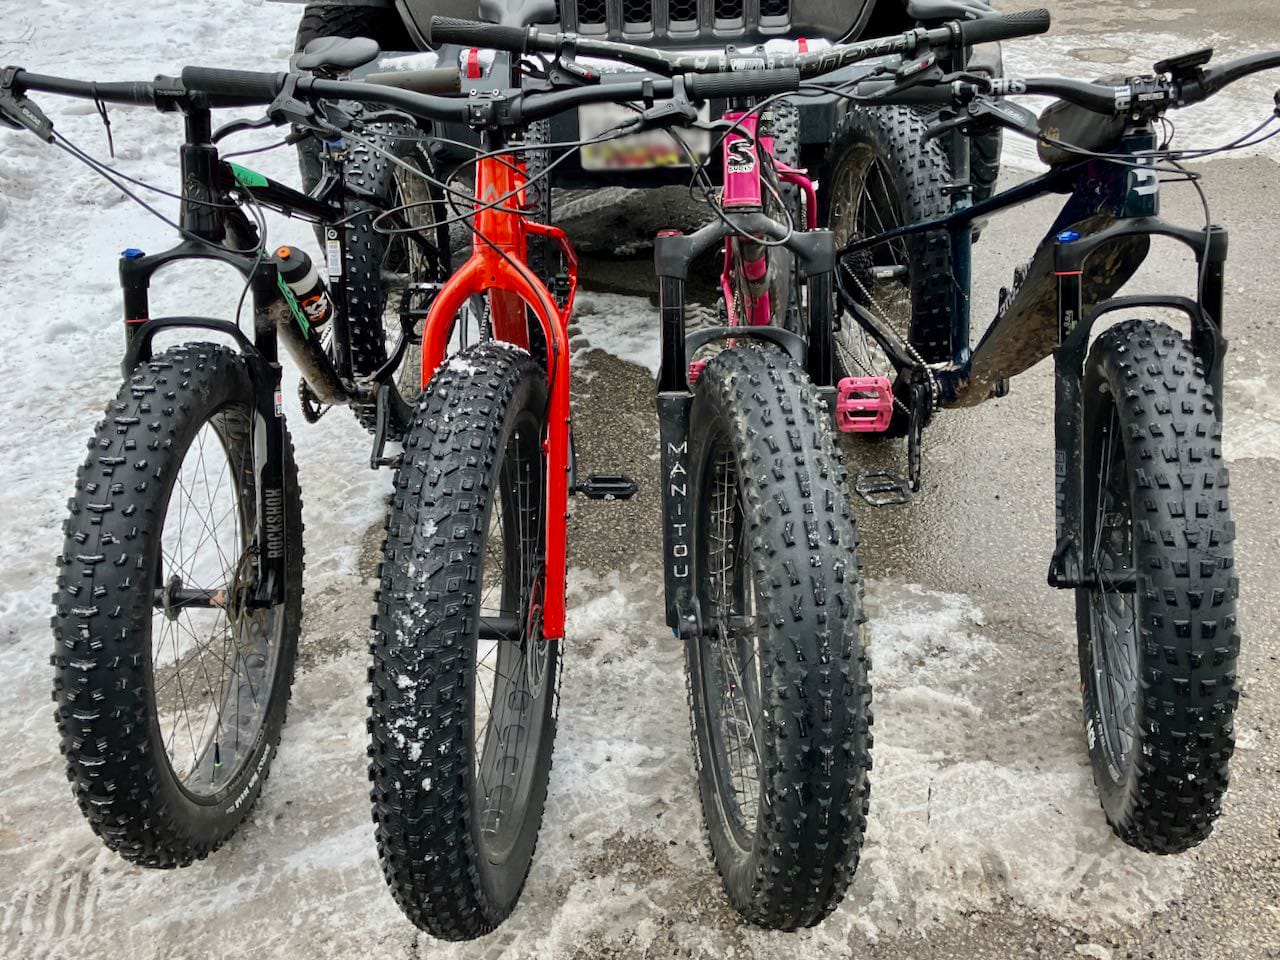
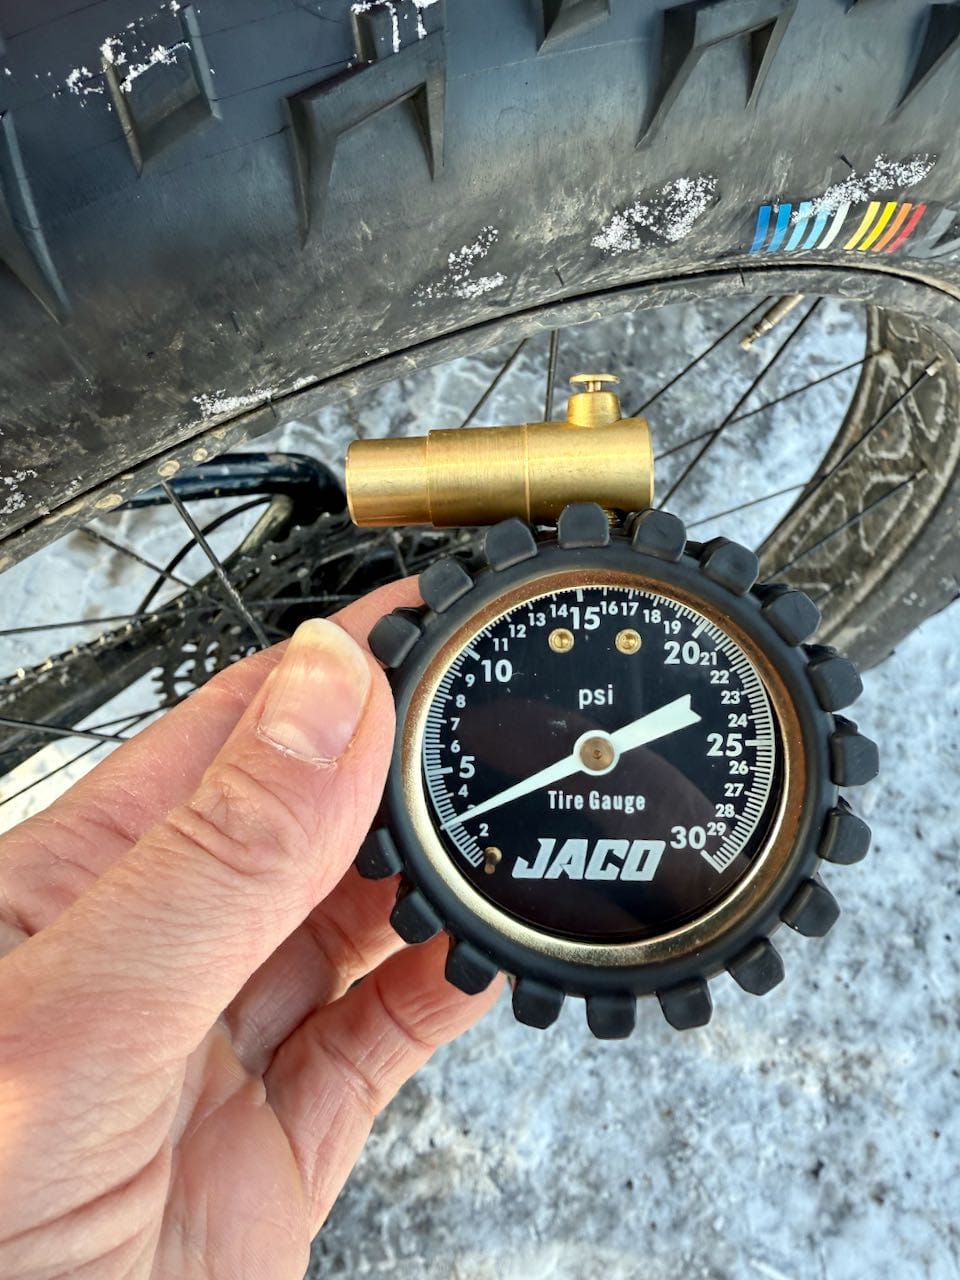
Tip #8: Less is More (Tire Pressure for Fat Bikes)
So, tire pressure.
You probably have too much.
The end.
Just kidding.
We’ve all made this mistake. I wish I could give you a chart for tire pressure. There are calculators out there, but I’ve never found one that helps with fat biking in Canaan Valley, West Virginia. We could have 1, 4, or 14 inches of snow on the ground. We could be riding over frozen water and slippery rocks, or carving through the woods on a perfectly groomed snow flow. All of these conditions require different air pressures. For the record, fat biking refers to riding bikes with tires that are at least 3.8 inches wide. So, I’ll sum up this topic with six suggestions to help you get to the proper air pressure. Eventually.
- Get a low-pressure gauge. We’re probably heading south of 5 psi and checking it on every ride.
- Set your bike outside for 30 minutes before checking tire pressure. At such low psi, tire temperature really matters!
- Start with a number you’re comfortable with. For many, that is 10 psi. I personally don’t recommend it, unless you’re about to ride pavement.
- Bring your tire pressure gauge so you can find what you like as you let all that air out. Experimentation is key here!
- Fat bike tires are meant to float on snow. This is made possible by their high volume and pressure ranges well below 10 psi. Yes: 4-6 psi or even lower! As conditions harden into a solid pack or thin to a light ground cover, adding air back contributes to better control and less bouncing.
- Don’t lie to yourself about your weight. No one is looking. Rider weight includes you, your clothes, your five-pound boots, and your pack. This is why I shouldn’t ask my 6’2” probably-played-rugby-buddy what his tire pressure is. It’s likely more than mine. But don’t worry, I’ll ask anyway.
Tip #9: Eat, Drink, and be Merry
During a particularly hot and/or humid summer day, it can be hard to stay hydrated. But dehydration can sneak up on us in the cold, too. Having a fueling and hydration plan is even more complicated in the winter: water freezes, and so do many energy bars. So here are a few tricks if you’re out riding below 32 degrees.
- If you’re using a water bottle, add some salt and/or sugar. Both cause something called “freezing point depression” and can keep your water liquid a little longer.
- Mount the bottle upside-down in the cage. This slows down the mouthpiece from freezing. I personally avoid this one because of mud and the fact that I’ll likely not close the bottle all the way.
- Use a pack and a hose for water. I use a small USWE Race 2.0 pack. I put it underneath my outer layer, which keeps the bladder warm thanks to my body heat. I also start with salt and warm water in the bladder. I keep the hose and bitevalve under my jacket as well. It’s important to remember to blow air back into the hose after drinking. This keeps small amounts of water out of the hose and the bitevalve, reducing the chance of freezing. A neoprene hose insulator can help, too!
- It’s easy to forget to eat when you’re just trying to stay warm. But regular calories are a must, just like any ride. During races, I’ll keep my gels in my bar mitts for easy access and to keep them warm. Alternatively, keep all your food close to your body in a jersey or interior jacket pocket.
- Bring on the fat! Nuts are a great option, as their high fat content provides sustained energy and they don’t freeze solid. Also, I recently rewatched the Impossible Route: West Yellowstone and regretted my gluten-free lifestyle as I watched Tyler Pearce stuff an entire pack of tortillas into his jacket as he and Jeremiah Bishop rode off into the frigid wilderness. Tortillas are high in oil and sodium, so they were hard to freeze!
A particularly engaging and educational video for your next trainer session.
Last but not Least: Experiment!
Staying comfortable enough to still have fun while winter riding comes only with experience. Perhaps experience is simply a string of mistakes and problems we’ve learned to solve. One thing is for sure: experimentation is key! Sure, we are all human, but so many factors make us different from each other. So, please consider my suggestions a jumping-off point. Play around with everything above and see what works for you, and what doesn’t. Short rides with bail-out points are great ways to test your gear with fewer consequences.
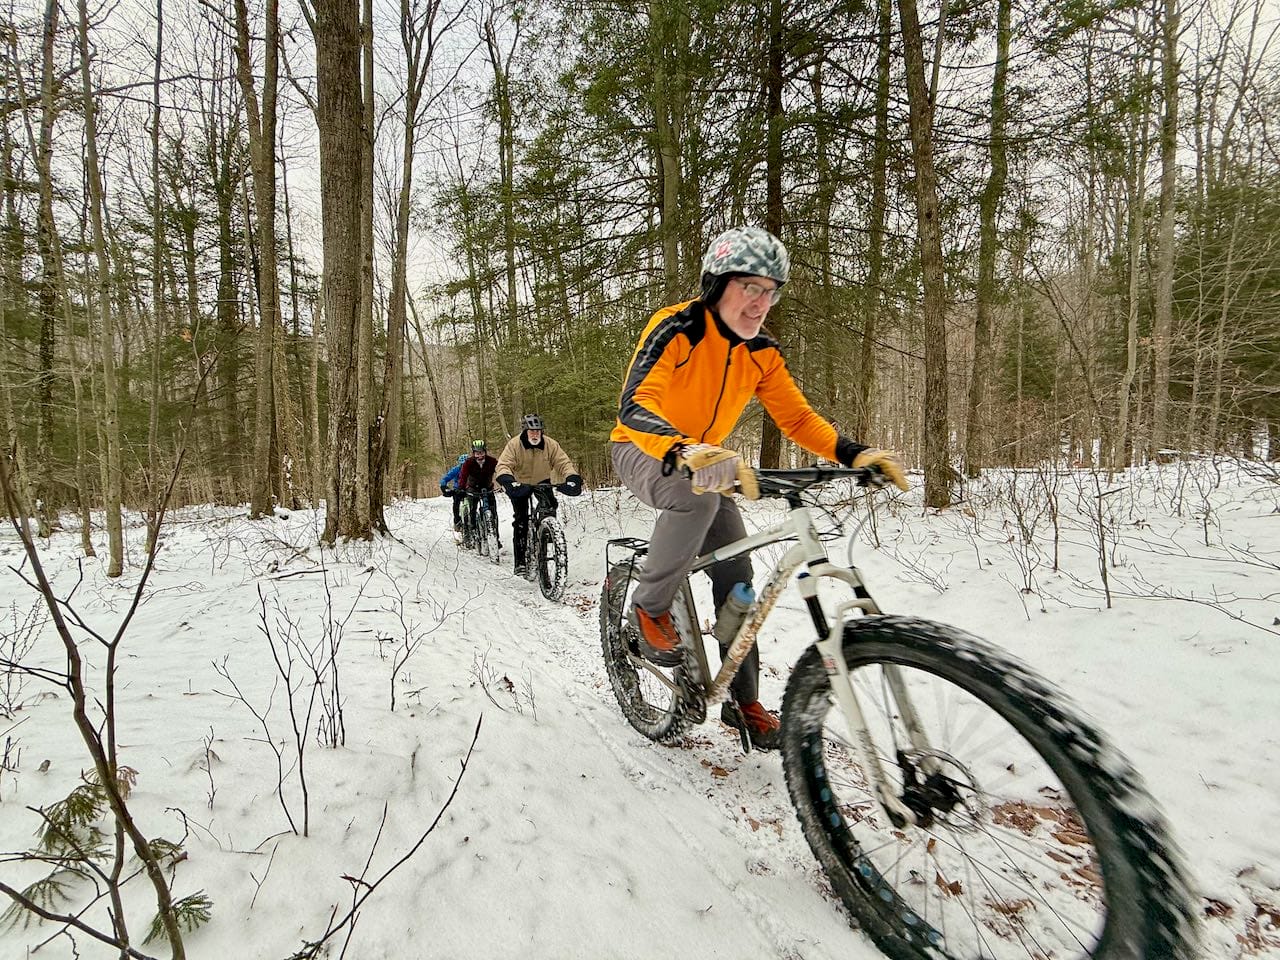
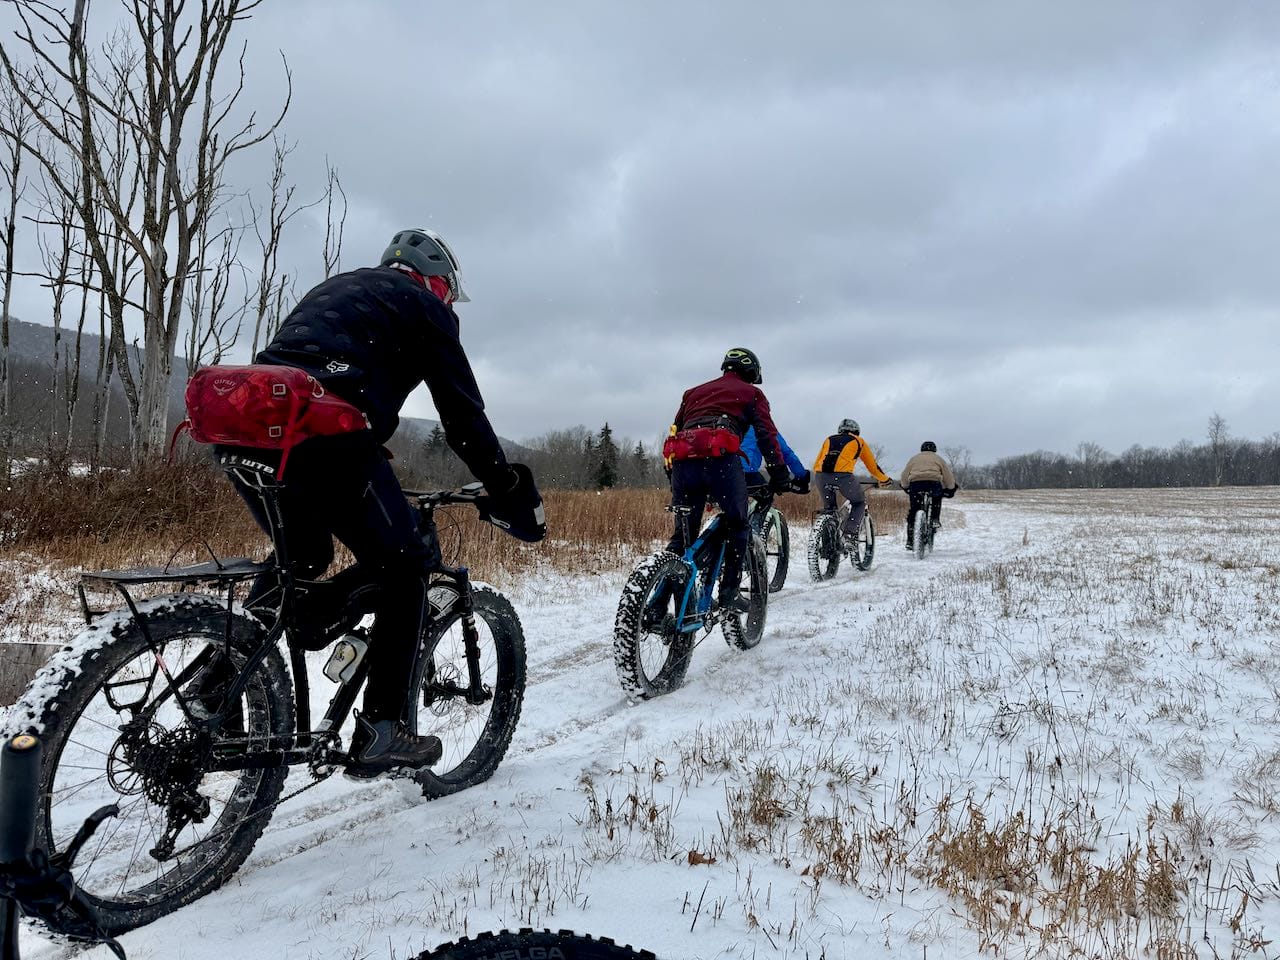
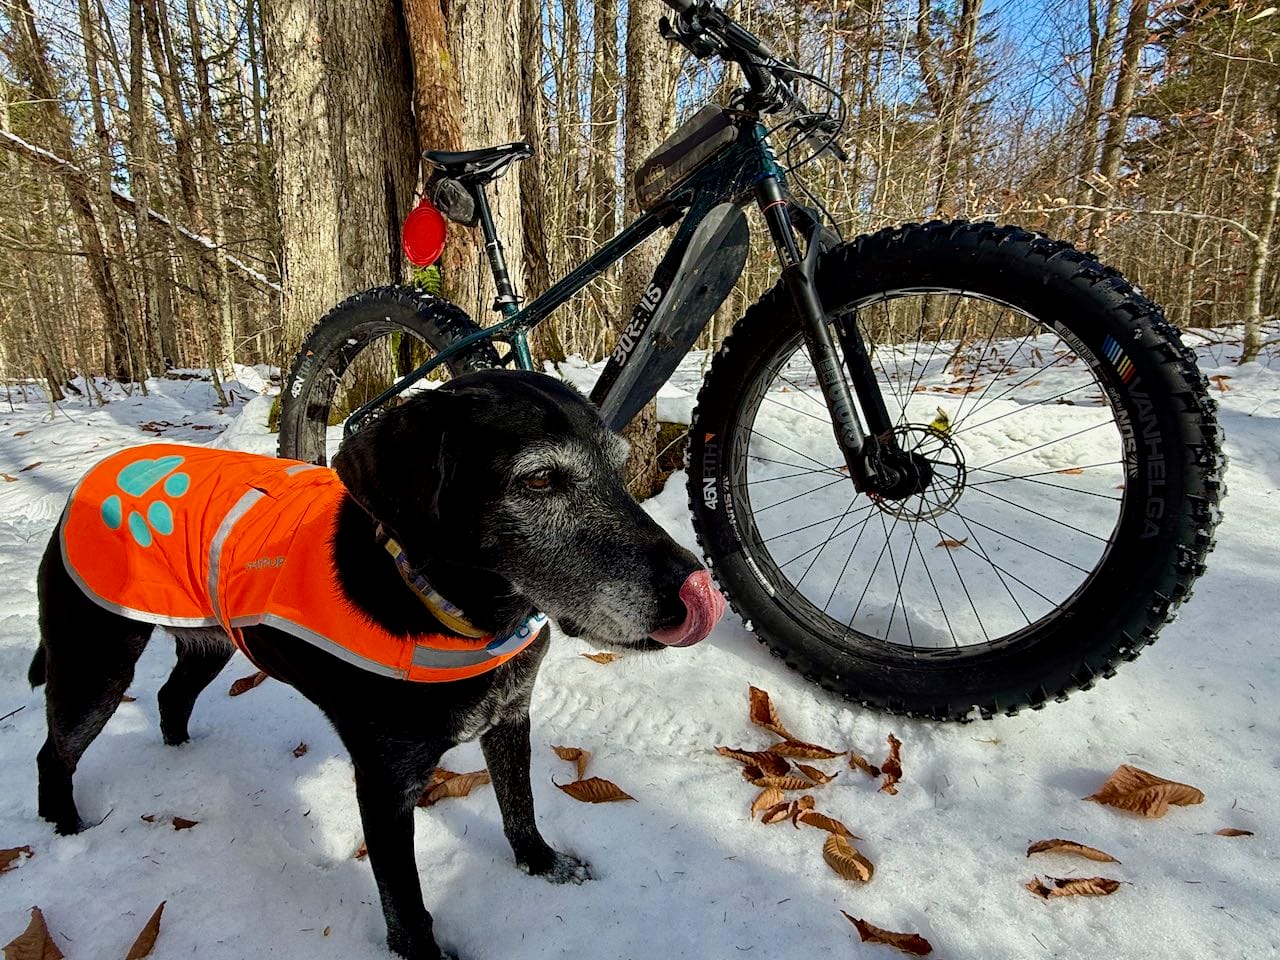
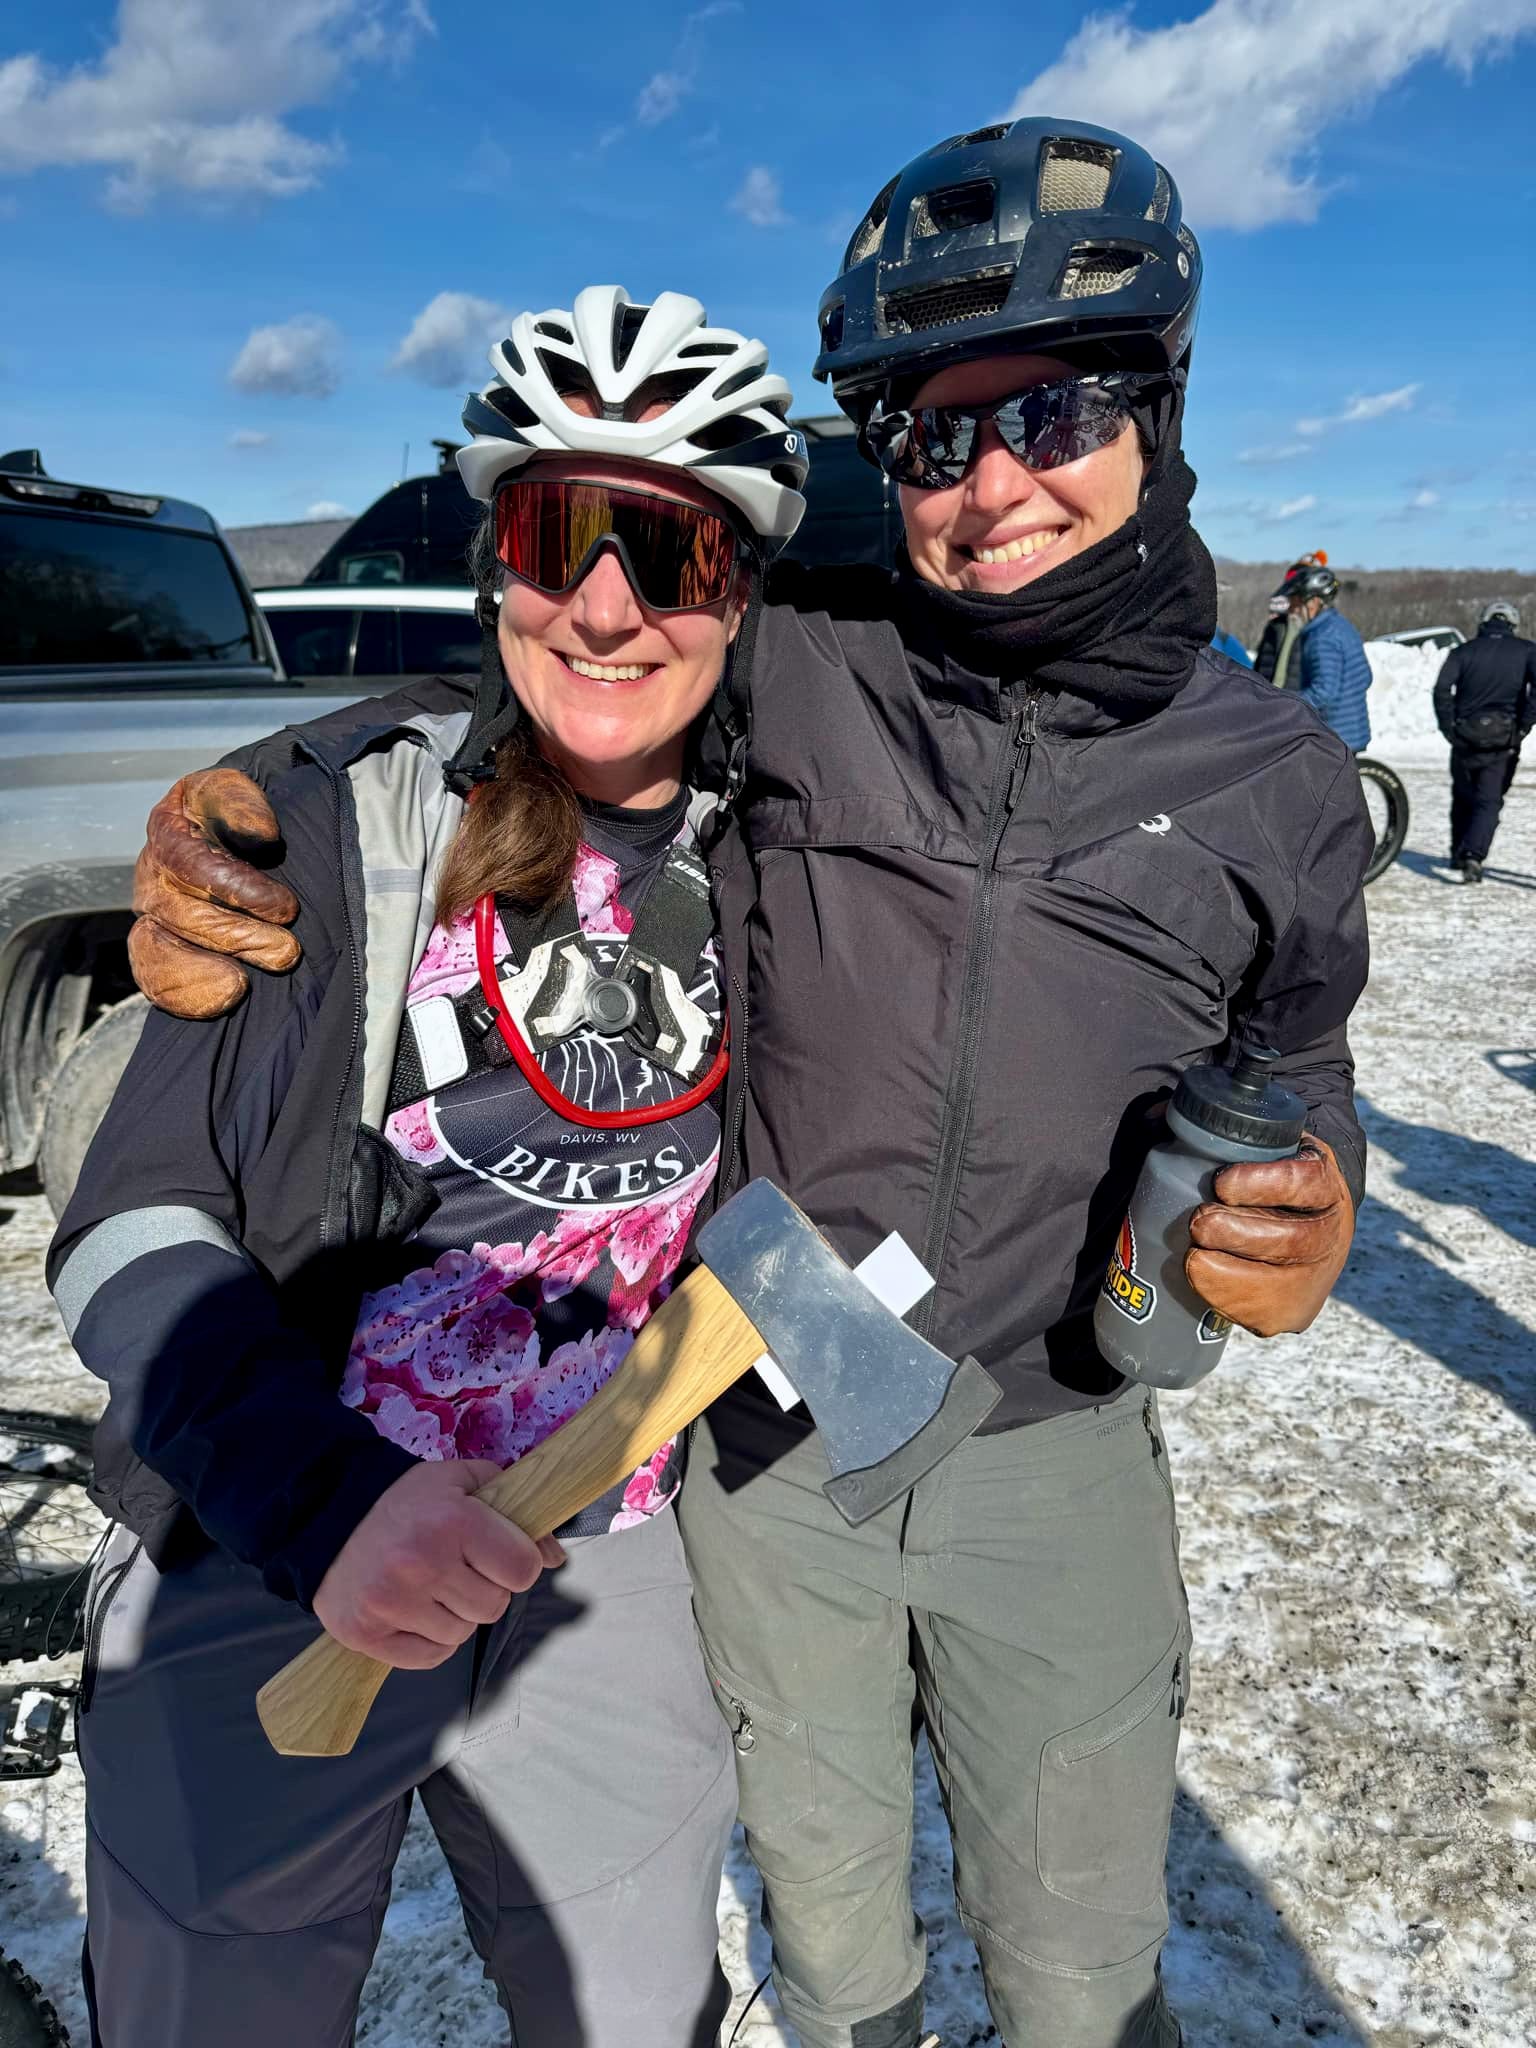
Winter riding with friends always adds to the fun factor.
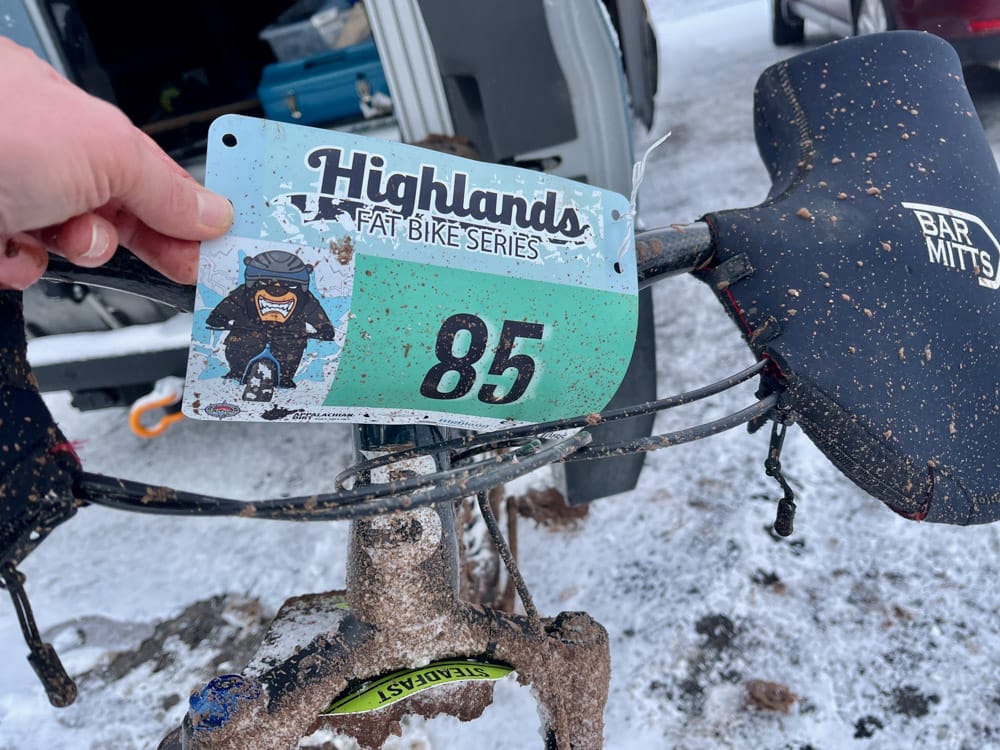
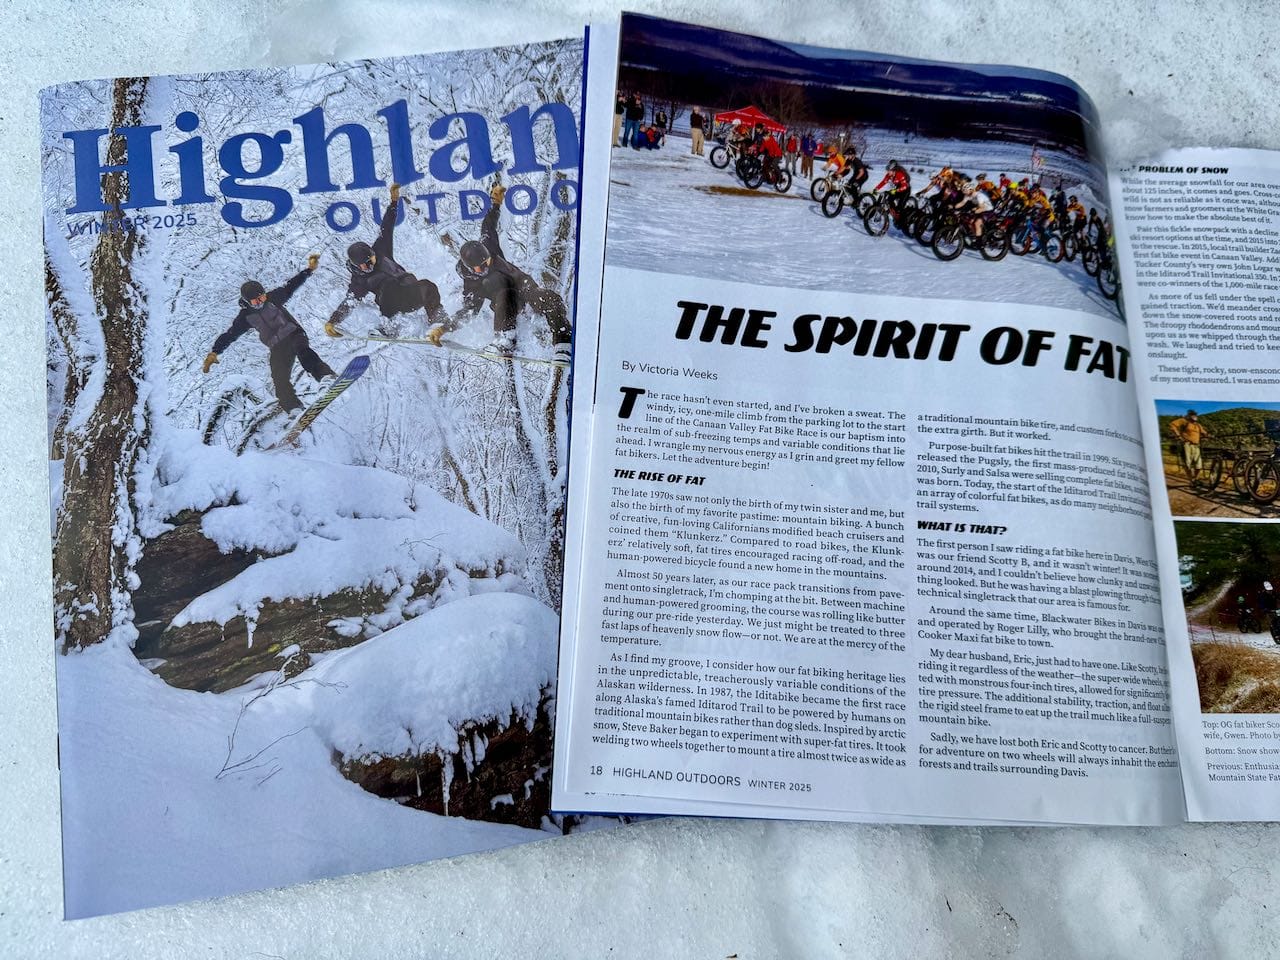
If you’re fat bike curious and live near Davis, WV, be sure to check out Blackwater Bikes and Trail Labs for top-end rentals as well as cold-weather gear. Or level up by joining the winter extravaganza on two wheels: the Highlands Fat Bike Series. The first race is January 11, 2026. And, be sure to pick up the Winter ‘25 edition of the Highland Outdoors magazine at your favorite West Virginia establishment. Within, you’ll find my short but sweet take on what I like to call “The Spirit of Fat.”
So, what did I miss? Sign in or sign up and share your personal tips and tricks with the pack!
Homework!


Member discussion